How To Repair An Inflatable Building
Njordair inflatable buildings can be repaired if they sustain damage. Our inflatable structures are made from durable reinforced PVC materials and are designed for the toughest environments. However, they can still receive punctures, tears, or other forms of damage.
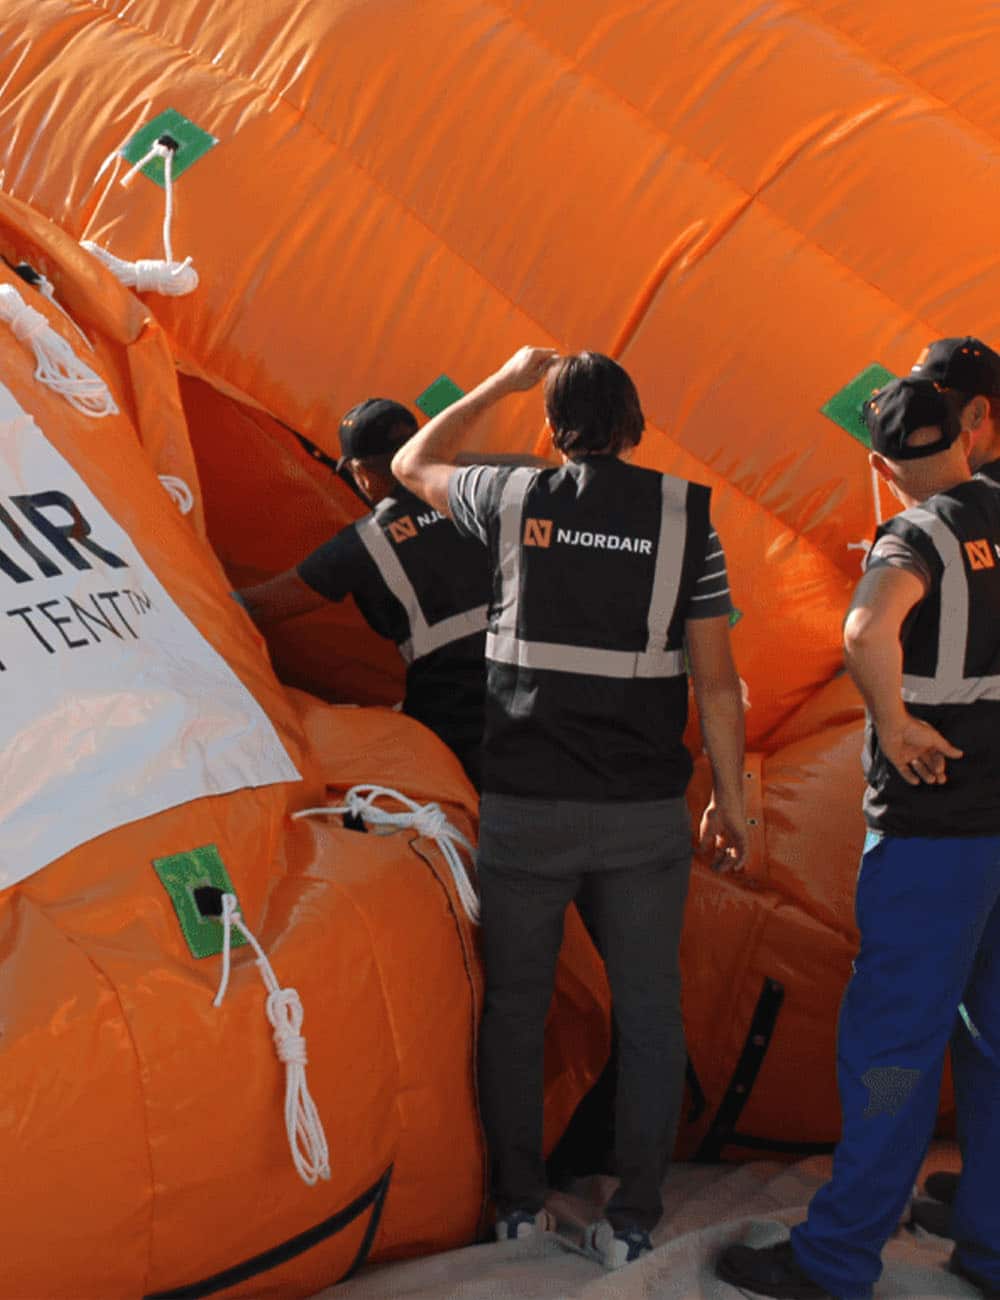
Constant Air Building Repairs (CA Range)
Note: With a constant air type building, the fans which inflate the structure of the tent are constantly running and so maintain a constant pressure. This means that in most cases the fans will automatically increase their speed compensate for the loss of air through a damaged area.
Patching is the repair method used for small punctures or tears in the inflatable fabric. Every unit we sell comes complete with a specialized repair kit for minor repairs. This kit includes PVC patches, glue, needle and thread. Small tears of up to 10cm long can be repaired using this repair kit.
Repairing a constant air type of inflatable building with an adhesive patch typically involves the following steps:
1. Identify the Damage: Determine the extent and nature of the damage. This could be a puncture, a tear, a damaged seam, or another issue.
2. Deflate the Structure: Before attempting any repairs, it’s essential to deflate the inflatable structure. This ensures a safer and more controlled environment for making the repairs.
3. Clean and Prepare the Surface: Clean the damaged area thoroughly and make sure it is dry. The repair material will stick better to a clean and dry surface.
4. Apply Patch or Repair Material: Cut out a patch at least 20cm larger than the hole or tear and round off the corners of the patch. Place the patch over the hole and mark around the patch. Apply a thin layer of glue to the patch and the area marked on the tent. Wait
a few minutes. Apply the patch and ensure air bubbles are removed.
5. Allow for Proper Curing: Apply weight if possible and leave for at least 24 hours before use.
6. Reinflate and Test: Once the repair has been completed and the curing time has passed, reinflate the structure. Ensure that it holds air and that the repair is effective.
With constant air tents you can also make a sewn repair to your inflatable with needle & thread. Cut out a patch at least 20cm larger than the hole or tear and round off the
corners of the patch. Thread the needle and using the loop sewing method stitch around the edge of the patch with stitches that are 3mm to 5mm apart.
It’s important to note that the success of a constant air inflatable building repair depends on the type and severity of the damage, as well as the quality of the repair materials used. A temporary repair can be made with an adhesive tape such as ‘Tear-Aid’ until such time a permanent glued or sewn repair can be made. If the damage is extensive or if there are multiple issues, then a sewn repair may be necessary. We have equipment and facilities to undertake repair work in the UK, Europe or the USA.
Additionally, regular inspections and preventive maintenance can help identify and address potential issues with your inflatable building before they escalate into a repair.
Sealed Air Building Repairs (SA Range)
Our range of sealed air inflatable buildings are different to constant air buildings because a all joins and welds are heat welded, not sewn. This means that a sealed air building is able to maintain constant internal air pressure without continuous inflation. Repairing a sealed air inflatable building is quite like repairing a constant air building except a needle and thread should never be used. Here are the general steps involved in repairing a sealed air inflatable building:
1. Locate the Damage: Identify the area of damage on the sealed air inflatable structure. This may include punctures, tears, or other forms of damage.
2. Release Internal Air Pressure: Before attempting any repairs, release the internal air pressure in a controlled manner using the pressure release valve.
3. Clean and Prepare the Surface: Clean the damaged area thoroughly and ensure it is dry. Proper surface preparation is crucial for effective repair of a sealed air inflatable building.
4. Apply Repair Material: Create a patch that is at least 20cm larger than the hole or tear, rounding off its corners. Position the patch over the damaged area and trace around it. Apply a thin layer of adhesive to both the patch and the marked area on the tent. Allow a few minutes for the adhesive to set. Carefully place the patch, ensuring the elimination of any air bubbles.
5. Allow for Proper Curing: Apply weight if possible and leave for at least 24 hours before use.
6. Inspect and Test: Once the repair has been completed and the curing time has passed, inspect the repaired area thoroughly. Reinflate the structure and ensure that it holds air. Perform a test to confirm the effectiveness of the repair.
It is crucial to understand that the effectiveness of repairing a sealed air inflatable building relies on factors such as the nature and extent of the damage, and the quality of the repair materials employed. For a temporary fix, adhesive tapes like ‘Tear-Aid’ can be used until a more permanent repair. In cases of substantial damage or multiple issues, opting for a professional repair may be preferable. Our facilities and equipment are available for undertaking repair work in the United Kingdom, Europe, or the United States.
Remember, regular inspections, preventive maintenance, and prompt repairs are crucial for ensuring the longevity and performance of sealed air inflatable buildings.